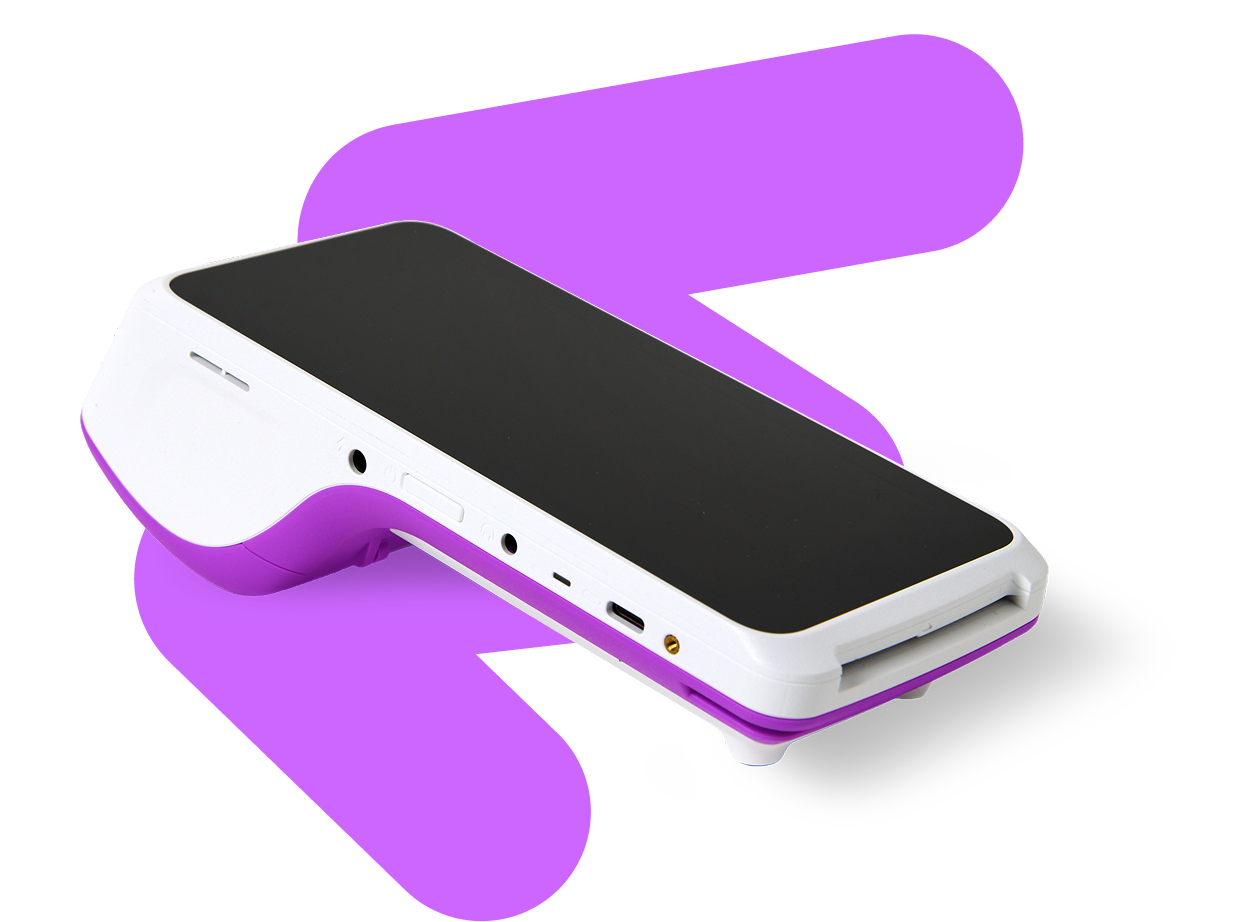
Castles Saturn S1F4 quick start guide
Follow our step-by-step user guide to get your new payments terminal up and running, explore important functions and start taking payments in less than 5 minutes.
First up, check you have the following items included with your terminal:
You're now ready to set up and power on your new POS device.
Step 1: Place the dock on a hard flat surface with the back of the dock facing up.
Step 2: Lift the cable cover by pressing the latch on the left-hand side.
Step 3: Connect the power cable into the DC 5V port and connect the power supply to the power outlet.
Step 4: Lock the cable tidy down.
Step 5: Place the terminal onto the charging dock.
Step 6: If the terminal is receiving power, a solid red light will appear.
Step 7: Hold down the power button until the terminal turns on
Step 1: Place the terminal on its rubber feet. Pull the printer lid upwards to open the paper compartment.
Step 2: Insert the paper roll so that the paper feeds from underneath the roll towards the front of the terminal.
Step 3: Close the printer lid firmly until you hear a click. Ensure the lid is fully closed and flush with the terminal casing.
Step 1: Open the Wi-Fi Config App.
Step 2: Scan the QR code on your router, your Wi-Fi will connect automatically once scanned.
Step 1: Select Settings > Network & Internet > Internet
Step 2: Select your Wi-Fi from the list
Step 3: Enter your Wi-Fi password and select Connect. Passwords are case-sensitive.
Step 4: Select the home button to get back to main menu
Following a Wi-Fi change, always perform a Logon before taking payments.
Total agreed - The value of transactions successfully authorised and received by Worldpay. These transactions will be included in settlement.
Total disagreed - The value of transactions where the terminal and host do not agree on the transaction status. This can occur due to a communication interruption during processing. If a value is shown against Total Disagreed, perform the End of Day process again. If the issue remains, contact support.
Unconfirmed - The value of transactions that could not be confirmed due to a communication issue between the terminal and the host. Check the terminal's network connection and perform the End of Day process again.
Password: 0000
Referral: 00000
Debug: For support use only. Do not use unless instructed by the Helpdesk.
Volume: Allows the terminal volume to be increased or decreased.
Will the terminal work with no till roll? – No. A till roll must be installed for the terminal to operate correctly.
Set-up guide
Set-up guide
Set-up guide